IJCAD超入門:IJCADで同心円を描いてみました!
プーリーやベアリングなどの部品図面を作成するときに同心円を描くことがよくあります。オフセットや複写でも描けますが、IJCADの同心円コマンドを使えば1回のコマンドで同心円を描けます。
今回は直径 10,25,54,62 の4つの円を一回のコマンドで描いてみたいと思います。
1、[同心円]コマンドを実行する!
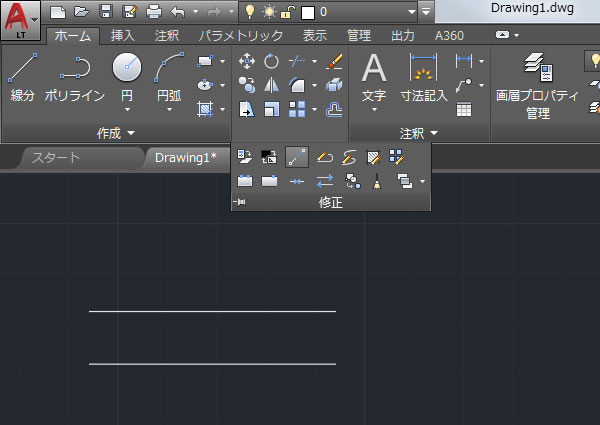
リボンメニューの[ホーム]タブの[作成]パネルにある[円]コマンドの下にある「▼」を展開して、[同心円]コマンドを選択しました。

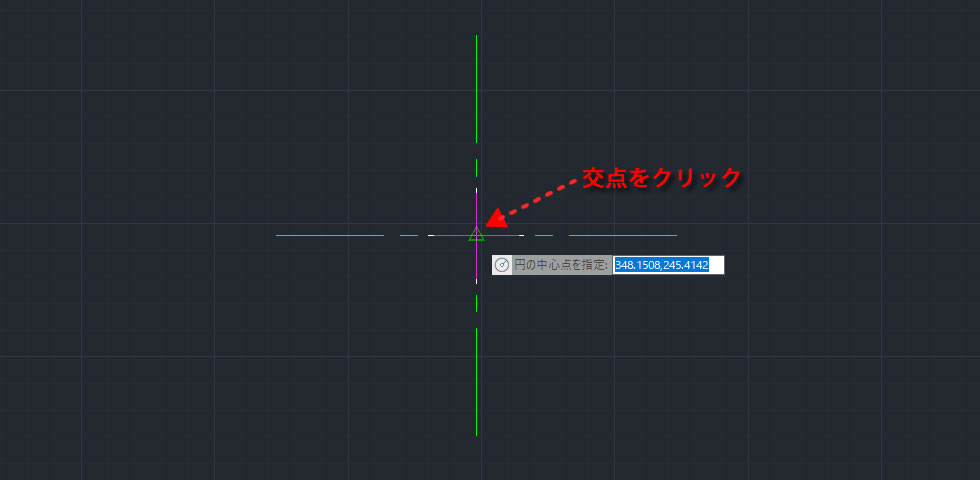
2、[円]の中心点を指定!
円の中心点を聞いてきたので、中心線の交点を同心円の中心点としてクリックしました。
3、[円]の直径を入力!
描きたい円の直径を入力してキーボードのエンターキーを押していきます。
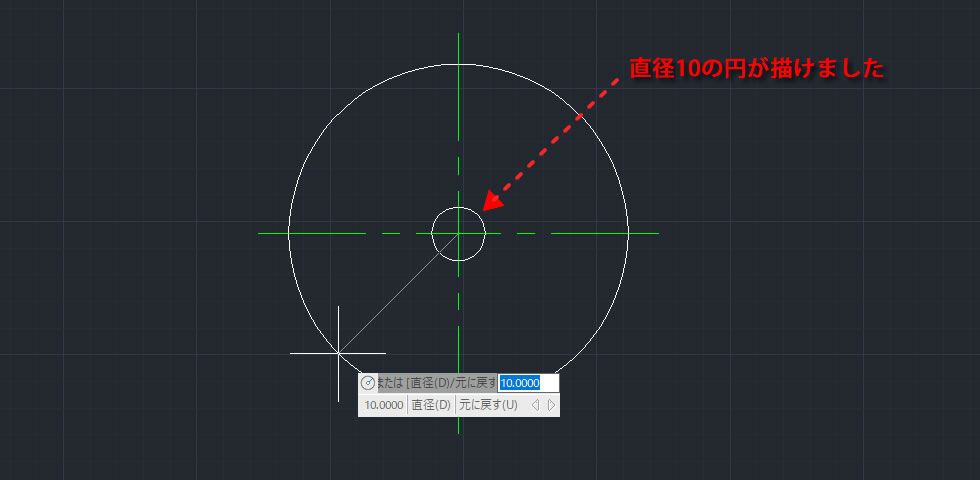
一つ目の直径10を入力してキーボードのエンターキーを押しました。
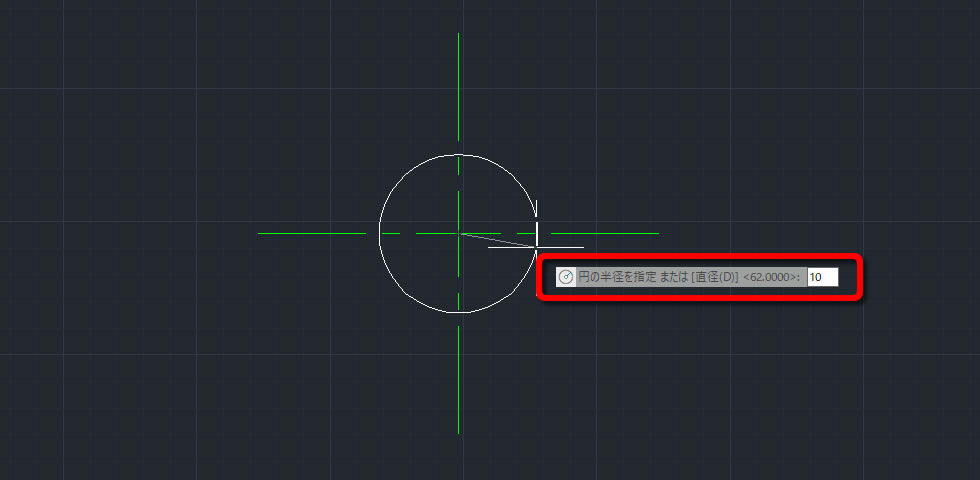
直径10の円が作成されました。
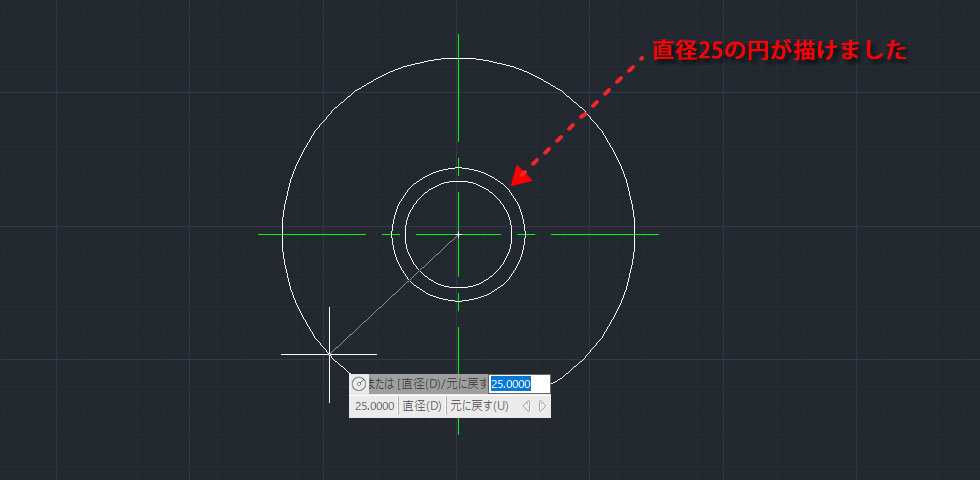
次に、直径25を入力してキーボードのエンターキーを押しました。

直径25の円が作成されました。
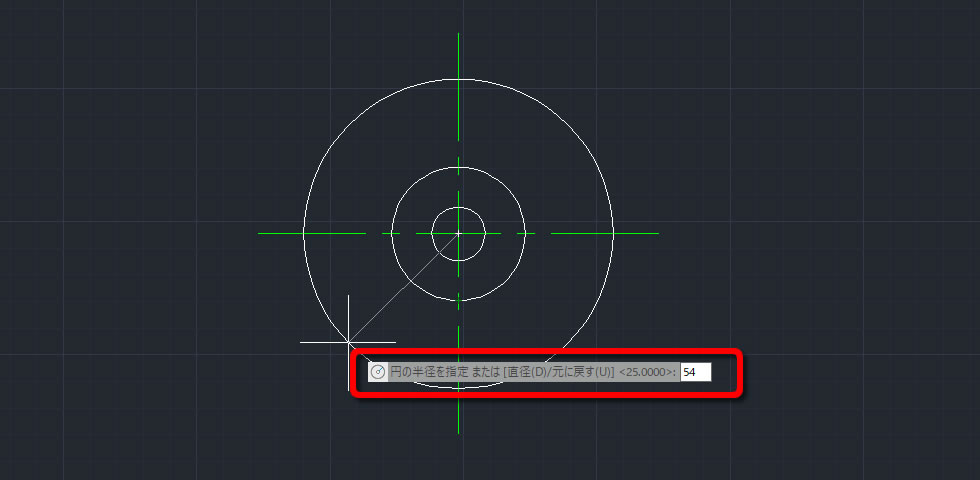
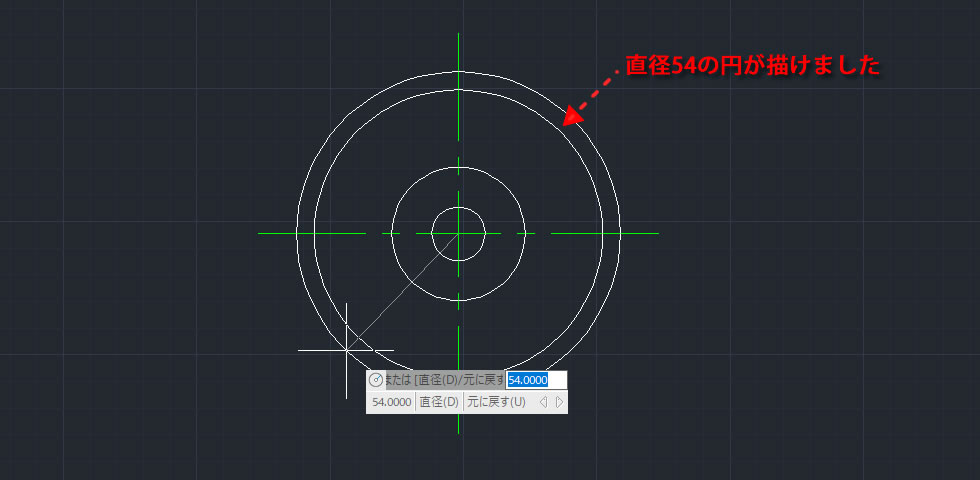
続いて、直径54を入力してキーボードのエンターキーを押しました。
直径54の円が作成されました。
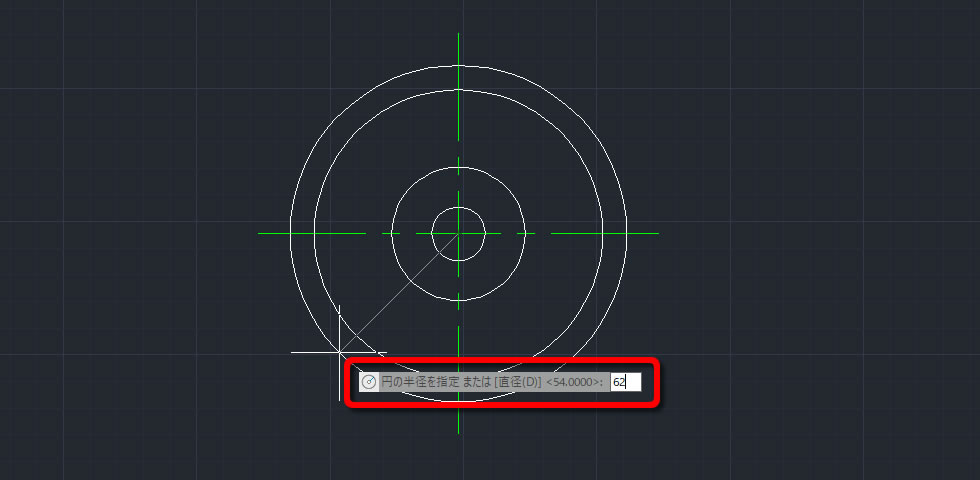
最後に直径62を入力してキーボードのエンターキーを2回押しました。
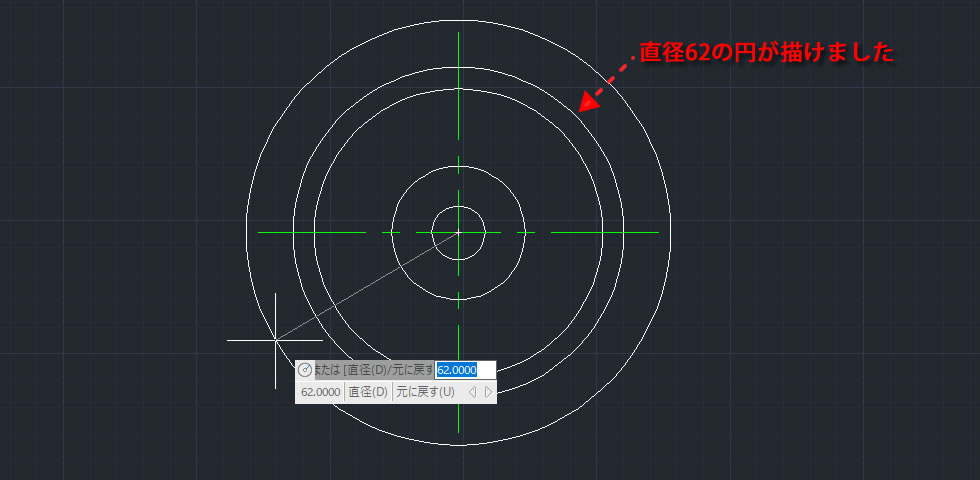
直径62の円が作成されました。
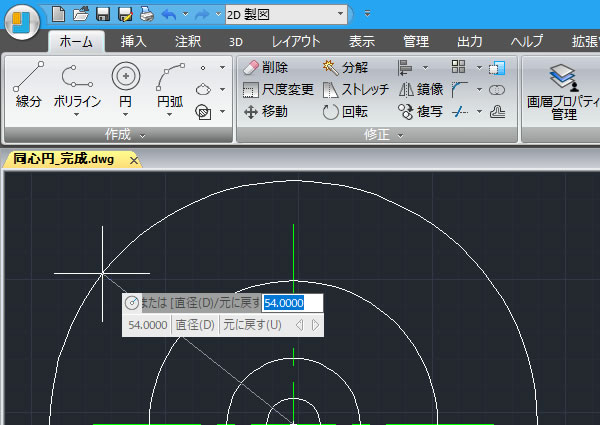
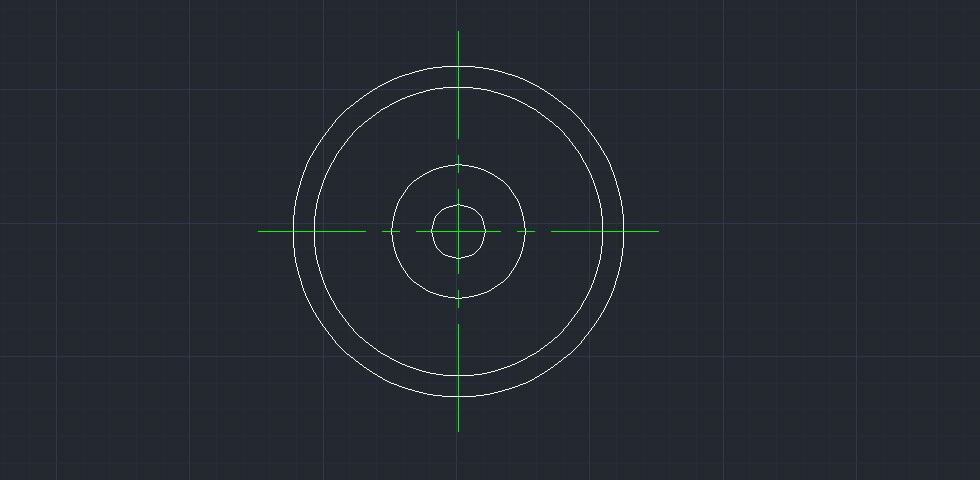
4、同心円が描けた!
直径 10,25,54,62 の4つの円を一回のコマンドで描くことができました。
参考記事
Warning: file_get_contents(): https:// wrapper is disabled in the server configuration by allow_url_fopen=0 in /home/ccube/cadcam.ne.jp/public_html/cad100blog/wp-content/themes/cad100blog-2024/functions.php on line 1040
Warning: file_get_contents(https://www.cad100.jp/goods/syohin_422.php): Failed to open stream: no suitable wrapper could be found in /home/ccube/cadcam.ne.jp/public_html/cad100blog/wp-content/themes/cad100blog-2024/functions.php on line 1040

Warning: file_get_contents(): https:// wrapper is disabled in the server configuration by allow_url_fopen=0 in /home/ccube/cadcam.ne.jp/public_html/cad100blog/wp-content/themes/cad100blog-2024/functions.php on line 1040
Warning: file_get_contents(https://www.cad100.jp/ijcad/): Failed to open stream: no suitable wrapper could be found in /home/ccube/cadcam.ne.jp/public_html/cad100blog/wp-content/themes/cad100blog-2024/functions.php on line 1040