AutoCAD Mechanicalで直列に並ぶ寸法線を一括記入してみました!
長さの寸法線を直列に並べたいとき1つ1つ記入できる寸法コマンドで記入できます。(※AutoCAD Mechanicalでは[水平][垂直][パワーディメンジョン]など)
ただ、寸法補助線の起点が少ないときはよいのですが、起点の数が多くなると結構面倒です。
そんなときに便利な[複数の寸法(AMAUTODIM)]コマンドがあったので使ってみました。
コマンドを実行する!

[複数の寸法(AMAUTODIM)]コマンドは、リボンメニューの[注釈]タブの[寸法記入]パネルにありました。
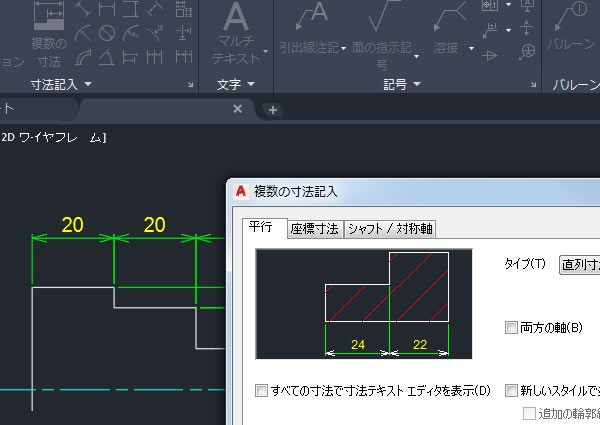
タイプを選択する!
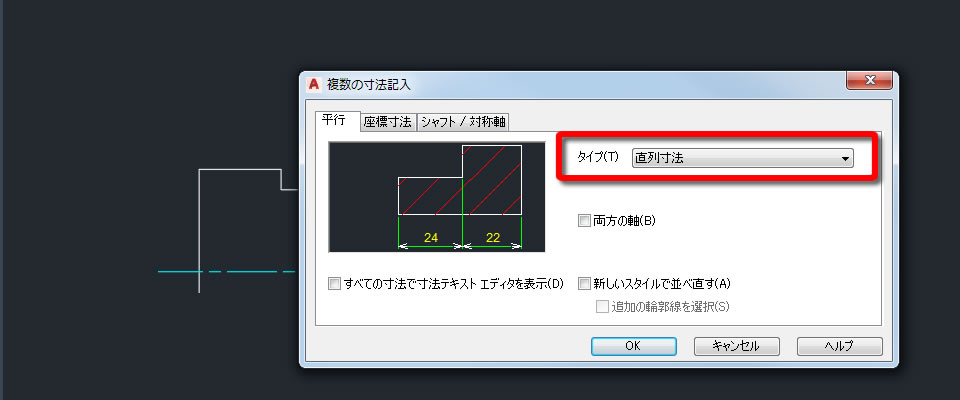
記入する寸法線のタイプを[複数寸法記入]ダイアログボックスから選びます。
今回は直列に並ぶ寸法線を記入したいので[平行]タブにある[タイプ]のなかから[直列寸法]を選択しました。
オブジェクトを選択する!
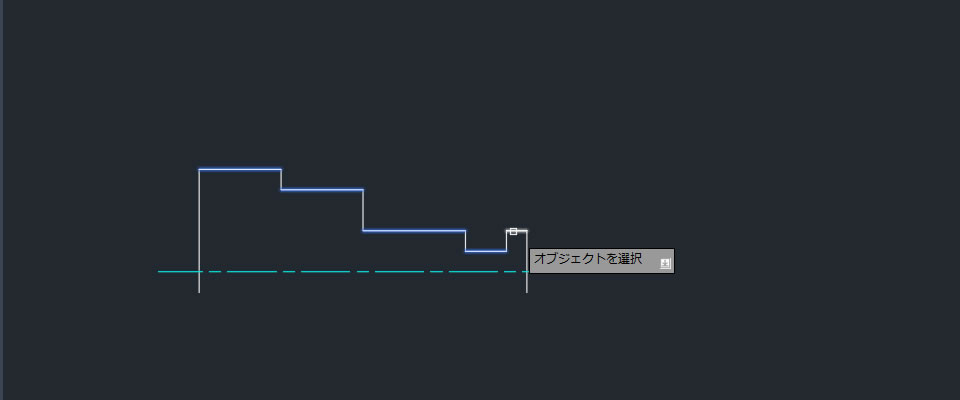
長さ寸法線の範囲は起点を指示のではなく、オブジェクトを選択するようになっていました。
ここで選択したオブジェクトが持つ点(端点など)が起点として認識されました。
寸法線の位置を指示する!
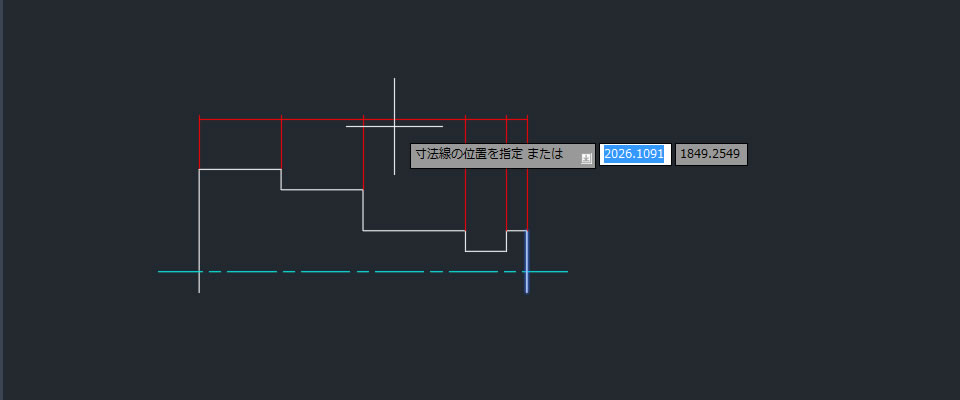
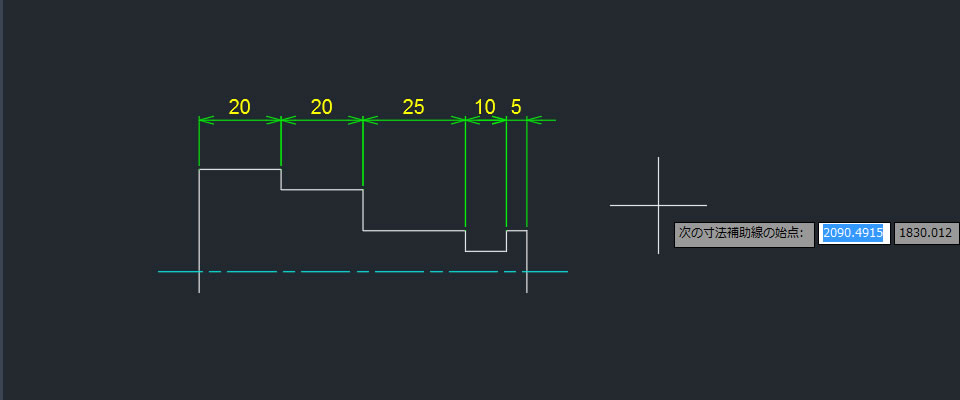
1番目の寸法補助線の起点、寸法線を位置を指示しました。
指示すると直列に並んだ寸法線を一度で記入できました。
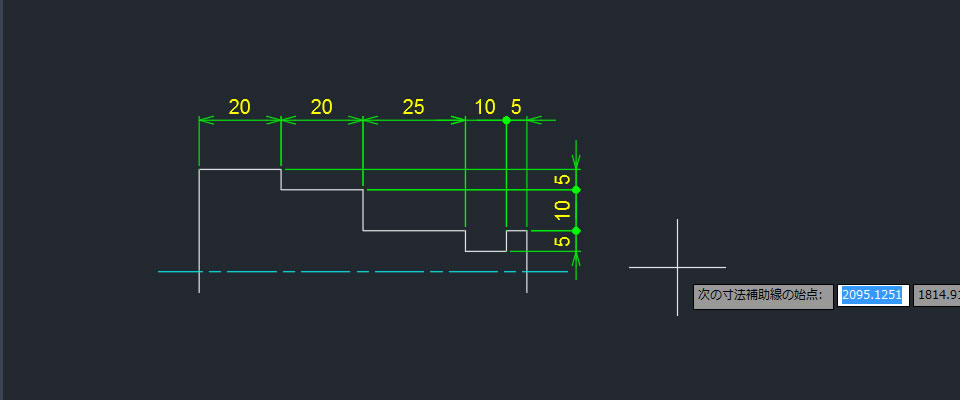
ちなみに[複数寸法記入]ダイアログボックスにある[両方の軸]にチェックを入れるともう一方の寸法線も続けて記入できました。
【動画で見てみましょう】
参考記事
Warning: file_get_contents(): https:// wrapper is disabled in the server configuration by allow_url_fopen=0 in /home/ccube/cadcam.ne.jp/public_html/cad100blog/wp-content/themes/cad100blog-2024/functions.php on line 1040
Warning: file_get_contents(https://www.youtube.com/watch?v=LD4A_SKY_lU): Failed to open stream: no suitable wrapper could be found in /home/ccube/cadcam.ne.jp/public_html/cad100blog/wp-content/themes/cad100blog-2024/functions.php on line 1040

Warning: file_get_contents(): https:// wrapper is disabled in the server configuration by allow_url_fopen=0 in /home/ccube/cadcam.ne.jp/public_html/cad100blog/wp-content/themes/cad100blog-2024/functions.php on line 1040
Warning: file_get_contents(https://www.cad100.jp/autocad/): Failed to open stream: no suitable wrapper could be found in /home/ccube/cadcam.ne.jp/public_html/cad100blog/wp-content/themes/cad100blog-2024/functions.php on line 1040