AutoCAD Mechanicalで寸法線を2つに分割してみました!
図面に記入されている長さの寸法線を2つに分けたいときってありますよね?
既にある寸法線の位置を変更してから新たに寸法線を追加して2つに分割する作業は面倒です。
この作業を簡単に行える[挿入(AMDIMINSERT)]コマンドが機械設計CAD AutoCAD Mechanicalにあったので使ってみました。
寸法の挿入コマンドを実行する!
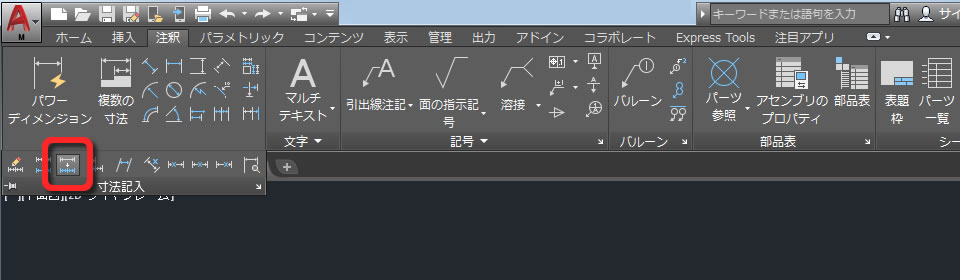
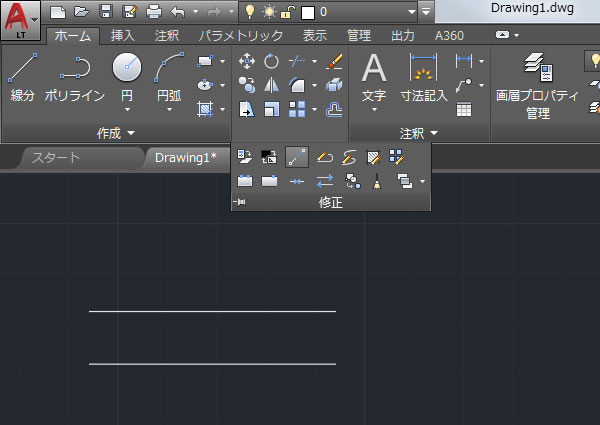
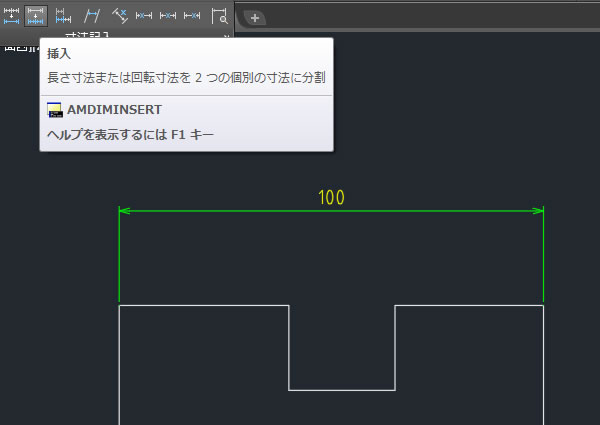
寸法線を分割できる[挿入(AMDIMINSERT)]コマンドは、リボンメニューの[注釈]タブの[寸法記入]パネルの[▼]をクリックすると展開されるメニューのなかにありました。
分割する寸法線を選択する!

2つに分割したい寸法線を選択しました。
分割する点を指定する!

寸法線を分割する点を指定しました。この点が寸法補助線の起点になります。
分割される!

寸法線が2つに分割されました。

寸法線の分割を連続して行いたいときは[Space]キーを押すとコマンドが再実行されます。
この機能は汎用タイプのAutoCAD・AutoCAD LTには無いようです。
【動画で見てみましょう】
参考記事
Warning: file_get_contents(): https:// wrapper is disabled in the server configuration by allow_url_fopen=0 in /home/ccube/cadcam.ne.jp/public_html/cad100blog/wp-content/themes/cad100blog-2024/functions.php on line 1040
Warning: file_get_contents(https://www.youtube.com/watch?v=rEKAViOh-hk): Failed to open stream: no suitable wrapper could be found in /home/ccube/cadcam.ne.jp/public_html/cad100blog/wp-content/themes/cad100blog-2024/functions.php on line 1040


AutoCAD Mechanicalで寸法線と寸法線を結合してみました! | CAD百貨ブログ- CAD機能万覚帳 -
Warning: file_get_contents(): https:// wrapper is disabled in the server configuration by allow_url_fopen=0 in /home/ccube/cadcam.ne.jp/public_html/cad100blog/wp-content/themes/cad100blog-2024/functions.php on line 1040
Warning: file_get_contents(https://www.cad100.jp/autocad/): Failed to open stream: no suitable wrapper could be found in /home/ccube/cadcam.ne.jp/public_html/cad100blog/wp-content/themes/cad100blog-2024/functions.php on line 1040