IJCAD超入門:IJCADで図形を拡大・縮小してみました!
図形を2倍の大きさにしたり、逆に1/2に小さくしたり、作図後に図形のサイズを変更することってありますよね。
そんなときにIJCADでは[尺度変更(SCALE)]コマンドを使うと図形のサイズを拡大・縮小できます。
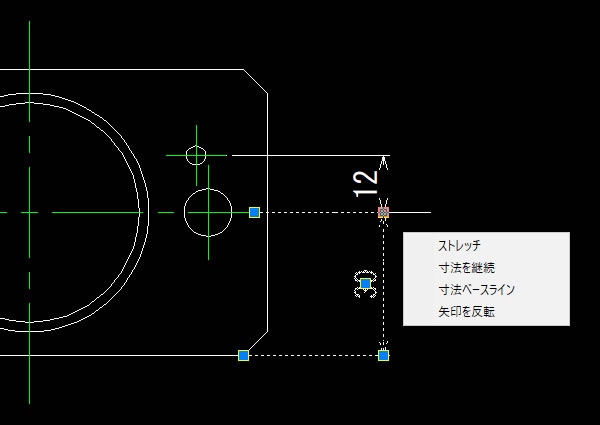
配置済みの寸法値も自動で修正される便利なコマンドです。
[尺度変更]を実行する!
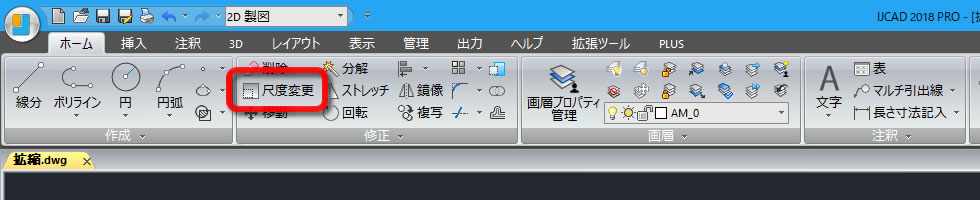
リボンメニューの[ホーム]タブの[修正]パネルにある[尺度変更(SCALE)]コマンドを選択します。
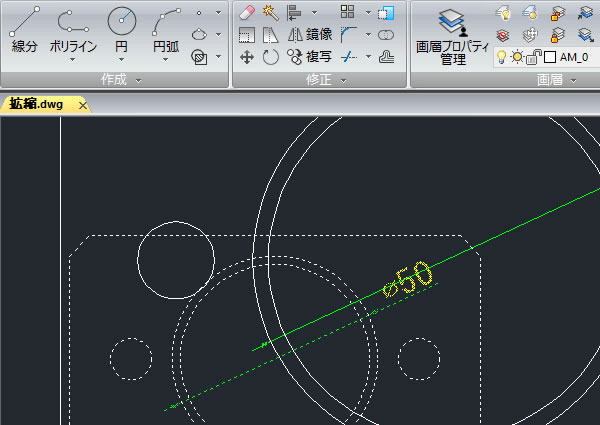
図形を選択する!
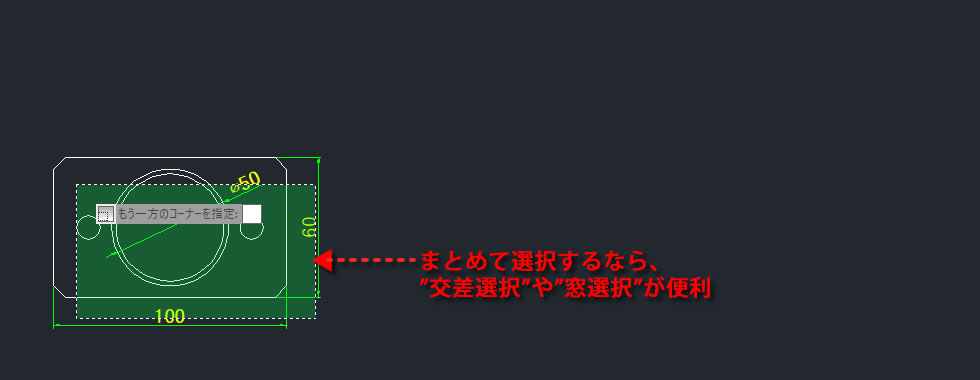
サイズ変更する図形を選択します。まとめて選択できる交差選択や窓選択が便利ですね。
基点を指定する!
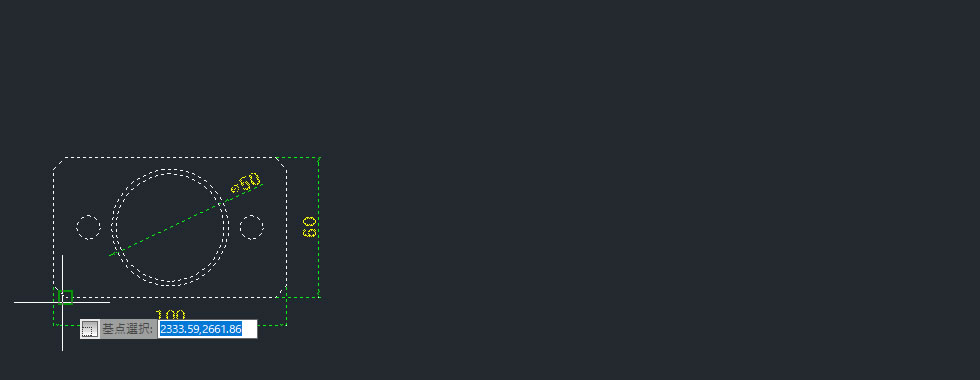
図形のサイズを変更するときの基準になる点「基点」を指示します。
今回は図形の左側にある端点を指示しました。
尺度を入力する!
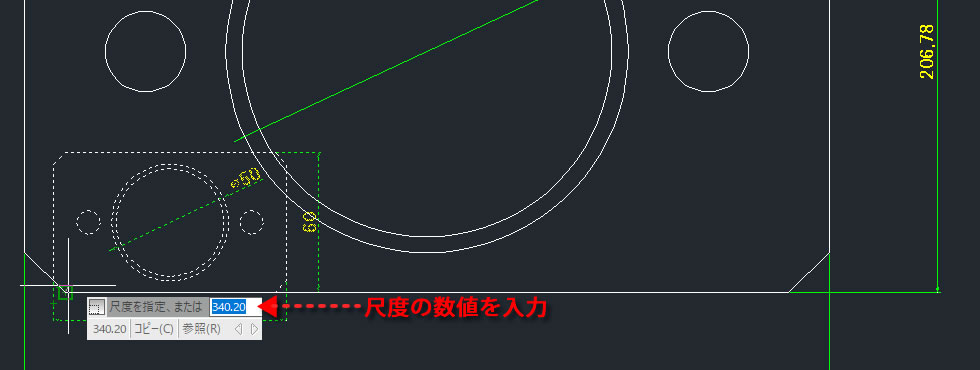
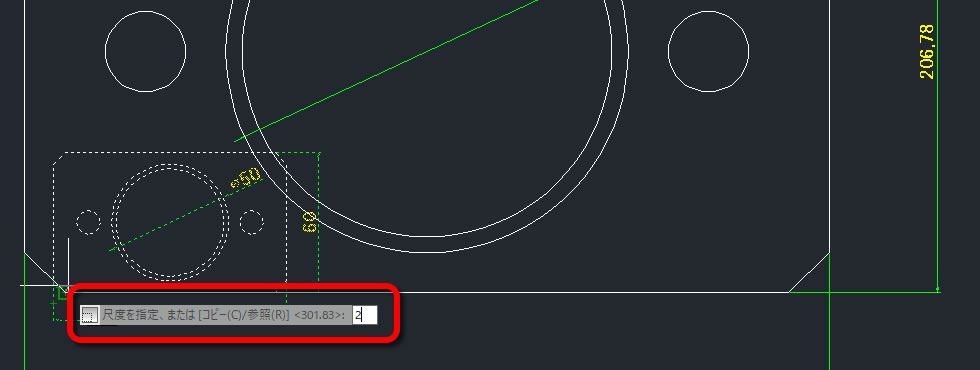
変更したい尺度を数値入力します。
2倍にしたいときは「2」、1/2にしたいときは「0.5」または「1/2」と入力します。
今回は「2」と入力して、2倍にしてみます。
図形のサイズが変更された!
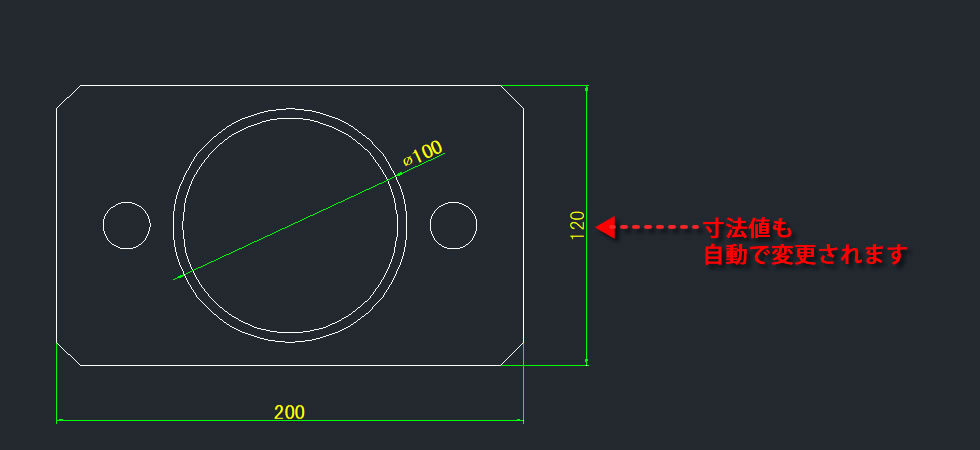
入力した尺度に図形のサイズが変更されました。
寸法線の寸法値も同時に修正されています。
【動画で見てみましょう】
参考記事
Warning: file_get_contents(): https:// wrapper is disabled in the server configuration by allow_url_fopen=0 in /home/ccube/cadcam.ne.jp/public_html/cad100blog/wp-content/themes/cad100blog-2024/functions.php on line 1040
Warning: file_get_contents(https://www.youtube.com/watch?v=7_TulFW-J8I): Failed to open stream: no suitable wrapper could be found in /home/ccube/cadcam.ne.jp/public_html/cad100blog/wp-content/themes/cad100blog-2024/functions.php on line 1040

Warning: file_get_contents(): https:// wrapper is disabled in the server configuration by allow_url_fopen=0 in /home/ccube/cadcam.ne.jp/public_html/cad100blog/wp-content/themes/cad100blog-2024/functions.php on line 1040
Warning: file_get_contents(https://www.cad100.jp/ijcad/): Failed to open stream: no suitable wrapper could be found in /home/ccube/cadcam.ne.jp/public_html/cad100blog/wp-content/themes/cad100blog-2024/functions.php on line 1040